Kenmore Sewing Machine Model 158 Manual: A Comprehensive Guide
This guide meticulously details the Kenmore Model 158 sewing machine, offering resources for various sub-models like 158.17851, 158.1980, and 158.90 series.
Online resources, including Reddit’s r/vintagesewing and Sewconsult.com, provide downloadable manuals in PDF format, aiding in operation and maintenance.
Essential instructions cover threading, tension adjustments, cleaning, and even dropping the feed dogs for freehand sewing, ensuring optimal machine performance.
The Kenmore Model 158 represents a significant piece of sewing machine history, renowned for its durability and reliable performance. Produced by Sears, Roebuck and Co., these machines gained popularity amongst home sewers due to their robust construction and accessible design. Understanding the nuances of your specific Model 158 requires accessing the correct manual, as variations exist – including 158.17851, 158.1980, and 158.90 series – each potentially having slight differences.
Finding the appropriate manual is crucial for unlocking the machine’s full potential. Fortunately, a wealth of resources are available online. Communities like r/vintagesewing on Reddit actively share information and downloadable PDFs. Websites such as Sewconsult.com offer dedicated manuals for models like the 158.1980x, covering operation, maintenance, and troubleshooting. These resources empower users to confidently operate and care for their vintage Kenmore machines.
This introduction serves as a starting point for a comprehensive understanding of the Model 158, guiding you towards the resources needed to maintain and utilize this classic sewing machine effectively.
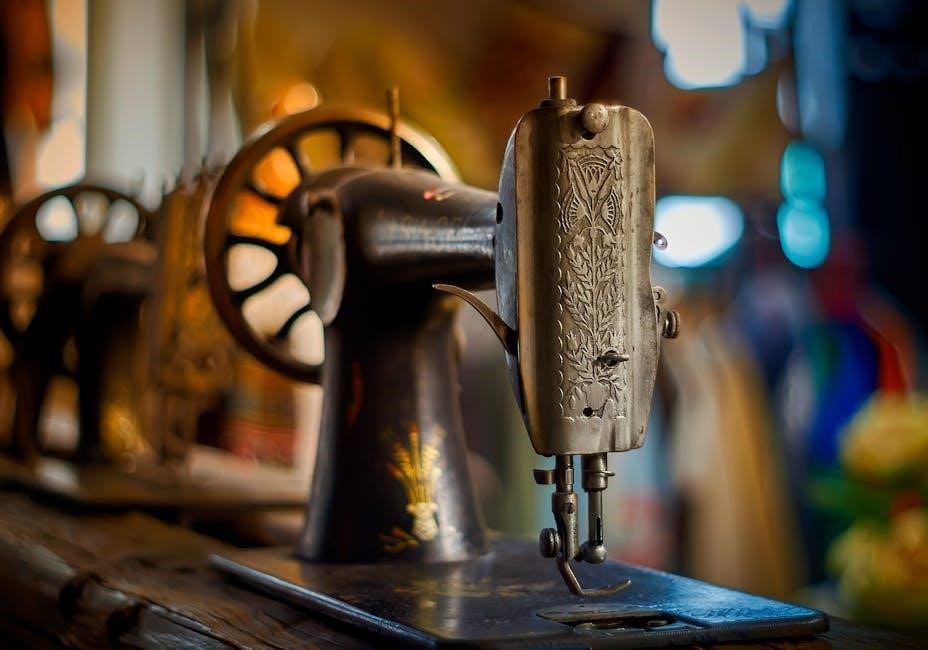
Historical Context of Kenmore Sewing Machines
Kenmore sewing machines, a product of Sears, Roebuck and Co., emerged as a dominant force in American households throughout the 20th century. Unlike manufacturers producing machines under their own names, Sears strategically contracted with established sewing machine companies – like Singer and others – to produce machines branded as Kenmore. This allowed Sears to offer quality machines at competitive prices, reaching a broad consumer base.
The Model 158, falling within this tradition, benefited from the expertise of these contracted manufacturers. Its design reflects the engineering standards of the era, prioritizing reliability and ease of use. The availability of manuals, even decades later, speaks to the machine’s enduring popularity and the demand for continued support.
The rise of online communities, such as the vintage sewing subreddit, demonstrates a renewed interest in these classic machines. The sharing of manuals – like those for the 158.17851 and 158.1980 – preserves this history and empowers a new generation of sewers.
Identifying Your Specific Model 158 Variation
The Kenmore Model 158 isn’t a single, monolithic machine; rather, it encompasses a series of variations denoted by differing numerical extensions – such as 158.17851, 158.1980, and 158.1980x. Accurately identifying your specific model is crucial for sourcing the correct manual and ensuring proper maintenance.
Locate the model number typically found on a metal plate affixed to the machine. This plate often resides on the front or side of the sewing machine base. Note the complete number, including any decimals or letters, as even slight variations can necessitate different documentation.
Online resources, like Sewconsult.com, specifically cater to these variations, offering dedicated manuals for models 158.19800, 158;19801, and 158.19802. Recognizing these distinctions allows users to access tailored instructions for their machine, maximizing its functionality and longevity.
Understanding the Machine’s Components
The Kenmore 158 features a faceplate with control knobs, a bobbin winder, feed dogs, stitch length control, and a presser foot/shank assembly.
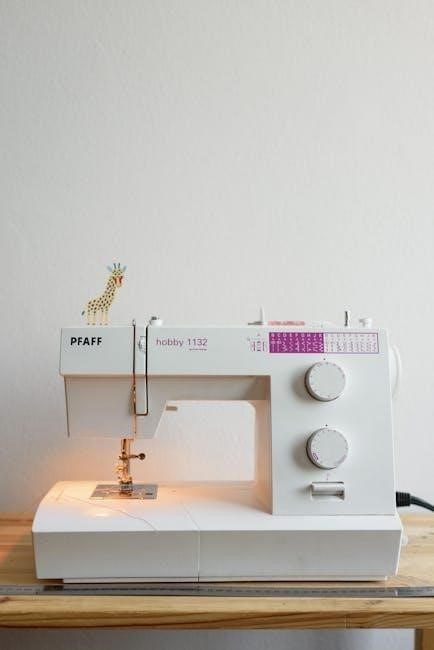
The Faceplate and Control Knobs
The faceplate of the Kenmore Model 158 serves as the central control hub for operating the sewing machine. It houses several crucial knobs and dials that govern stitch selection, length, and width. Understanding these controls is paramount for achieving desired sewing results.
Stitch pattern selection is typically managed by a dial on the faceplate, allowing users to choose from a variety of stitch types, including straight stitch, zigzag, and potentially decorative patterns depending on the specific model variation (158.17851, 158.1980, etc.).
Stitch length adjustment is often controlled by a separate knob, enabling precise tailoring of stitch density for different fabrics and applications. A longer stitch length is suitable for heavier materials, while a shorter length is ideal for delicate fabrics.
Stitch width control, present on models offering zigzag or other variable-width stitches, allows for customization of the stitch’s breadth. Proper adjustment of these knobs, as detailed in available manuals, ensures optimal sewing performance.
The Bobbin Winder Mechanism
The bobbin winder on the Kenmore Model 158 is essential for preparing the bobbin, the lower thread source, for consistent stitching. This mechanism typically involves a spring-loaded tension disc and a winding shaft.
To operate, the bobbin is placed onto the winding shaft, and thread is guided through the tension disc. Engaging the bobbin winder—often by pushing the bobbin shaft to the right—activates the winding process when the foot pedal is pressed.
Proper tension on the thread is crucial for evenly wound bobbins. Adjustments may be necessary depending on the thread type and weight. Overly tight tension can cause breakage, while insufficient tension results in uneven winding.
Manuals for models like the 158.1980 and 158.17851 provide detailed diagrams and instructions for correctly threading and operating the bobbin winder, ensuring a smoothly functioning sewing experience. Consistent bobbin winding is key to avoiding stitching issues.
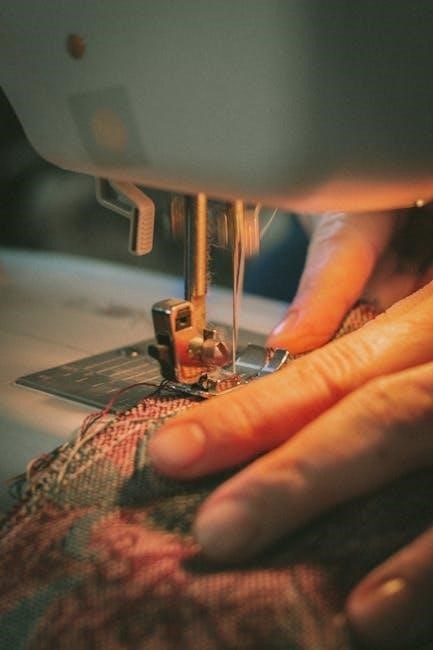
The Feed Dogs and Stitch Length Control
The feed dogs, located beneath the presser foot, are crucial for advancing the fabric during sewing. These toothed metal pieces grip and move the material with each stitch, ensuring consistent fabric flow.
The stitch length control allows you to adjust the distance between individual stitches. Typically, a dial or lever controls this function, offering a range of stitch lengths for various fabrics and applications.
Shorter stitch lengths are ideal for delicate fabrics or creating reinforced seams, while longer stitch lengths are suitable for basting or heavier materials. Some models, like the 158.1340, feature a control to drop the feed dogs entirely.
Dropping the feed dogs disengages their grip, enabling freehand sewing, allowing for creative embellishments or maneuvering fabrics that don’t feed easily. Refer to your Kenmore 158 manual (158.1980 or similar) for specific instructions on adjusting and utilizing these features.
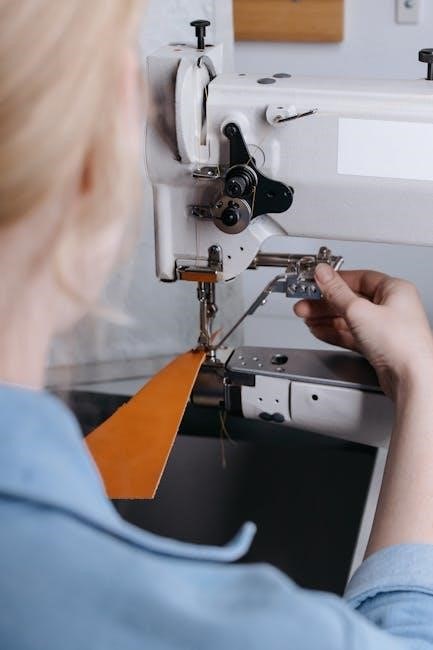
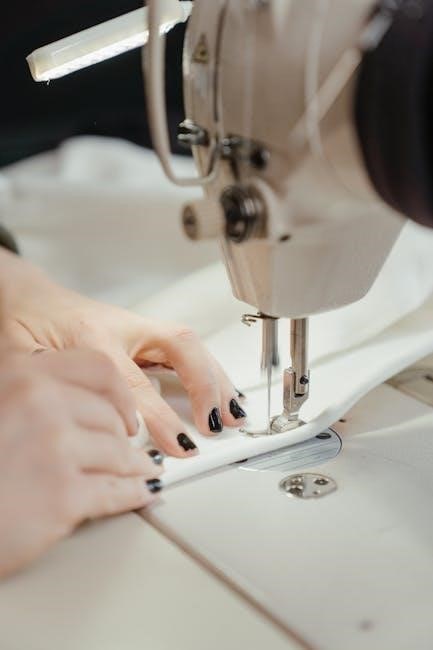
The Presser Foot and Shank Assembly
The presser foot firmly holds the fabric against the feed dogs during sewing, ensuring even stitch formation. Different presser feet are available for specialized tasks, expanding the machine’s capabilities.
The shank assembly connects the presser foot to the sewing machine. It allows for easy attachment and removal of various presser feet, adapting the machine to different sewing needs.
Standard presser feet are suitable for general sewing, while specialized feet exist for zippers, buttonholes, and decorative stitching. Understanding how to securely attach and detach the presser foot is vital.
Proper alignment of the presser foot is crucial for consistent stitch quality. Consult your Kenmore 158 manual (like the 158.1980x manual from sewconsult.com) for detailed instructions on presser foot installation and adjustment. Maintaining a secure connection between the foot and shank ensures smooth operation.
Basic Operation and Setup
Successfully operating your Kenmore 158 requires proper threading, bobbin insertion, stitch length/width adjustments, and pattern selection, as detailed in available manuals.
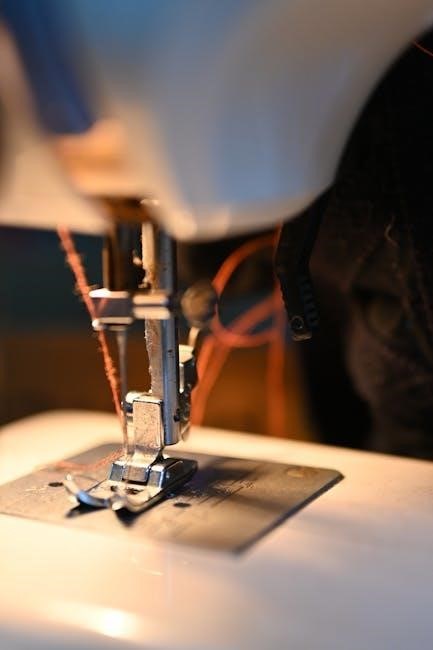
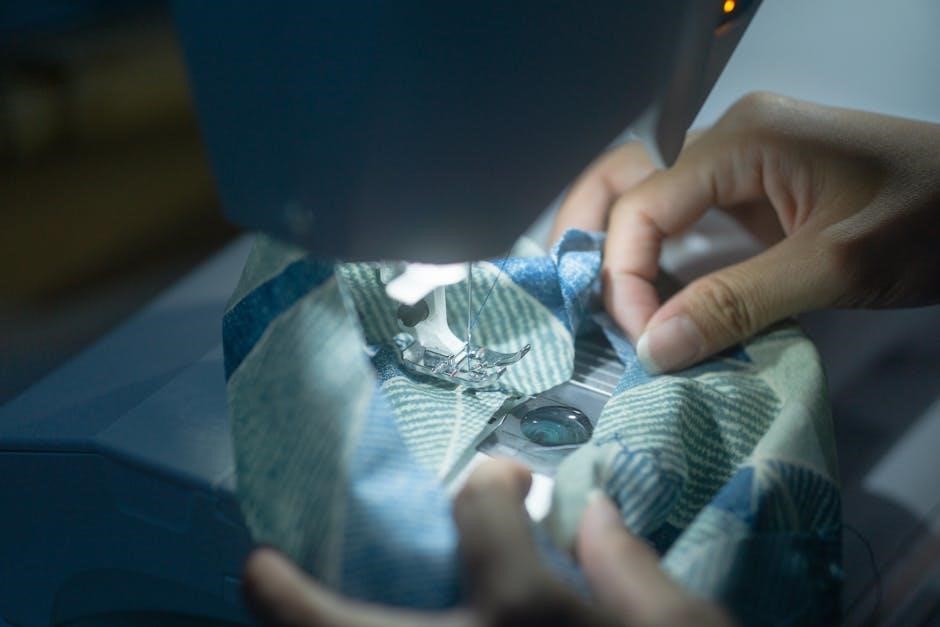
Threading the Kenmore Model 158
Proper threading is fundamental to the Kenmore Model 158’s operation, ensuring smooth stitch formation. Begin by raising the presser foot; this opens the tension discs, allowing the thread to seat correctly. Guide the thread from the spool pin, through the first thread guide, and then down and around the tension discs.
Next, continue threading upwards, passing through the take-up lever – ensure the thread is securely caught within the lever’s hook. From there, lead the thread through the remaining thread guides positioned above the needle bar. Finally, thread the needle from front to back.
Referencing the instruction manual (available via resources like Reddit’s r/vintagesewing or Sewconsult.com) is crucial, as threading paths can vary slightly between 158 sub-models (e.g., 158.17851, 158.1980). Incorrect threading will lead to inconsistent stitches or machine malfunction, so double-check each step.
Winding and Inserting the Bobbin
Bobbin winding on the Kenmore Model 158 involves placing the spool of thread on the spool pin and guiding the thread through the designated tension disc for winding. Engage the bobbin winder by sliding the bobbin onto the winder spindle and gently pushing it to the right. Start the machine, and the bobbin will begin to fill.
Once full, the winder should automatically stop. Trim the thread and disengage the winder. To insert the bobbin, open the bobbin case cover. Depending on your model (like 158.1980x found on Internet Archive), the bobbin may be front-loading or top-loading.
Ensure the thread unwinds in the correct direction, following the path indicated in your manual (available on resources like Reddit and Sewconsult.com). Secure the thread by gently pulling it through the tension spring. A properly wound and inserted bobbin is vital for balanced stitching.
Adjusting Stitch Length and Width
Stitch length on the Kenmore Model 158 is typically adjusted using a dial or lever located on the faceplate of the machine. Lower numbers generally correspond to shorter stitches, ideal for delicate fabrics, while higher numbers create longer stitches for heavier materials.
Stitch width, controlling the zigzag pattern’s breadth, is often adjusted with a separate dial. A setting of ‘0’ usually indicates a straight stitch. Increasing the number widens the zigzag, useful for decorative stitching or preventing fabric fraying.
Experimentation is key to finding the optimal settings for your project. Refer to your specific model’s manual (found on resources like Reddit’s r/vintagesewing or Sewconsult.com) for detailed diagrams and recommendations. Proper adjustment ensures consistent and professional-looking seams.
Selecting Stitch Patterns
The Kenmore Model 158 offers a variety of stitch patterns, typically selected using a stitch selector dial on the machine’s faceplate. These patterns range from straight stitch and zigzag to decorative options, depending on the specific sub-model (like 158.17851 or 158.1980).
Refer to your manual – available through resources like Sewconsult.com and Reddit’s r/vintagesewing – for a comprehensive diagram illustrating each stitch pattern and its corresponding dial setting. Understanding these settings is crucial for achieving desired results.
Experiment with different stitches on scrap fabric to familiarize yourself with their appearance and suitability for various projects; Correct stitch selection enhances both the functionality and aesthetic appeal of your sewing creations. Always test before sewing your final project!
Advanced Techniques and Features
Explore tension adjustments, diverse presser feet, and troubleshooting guides within the Kenmore 158 manual for optimal performance and creative sewing possibilities.
Understanding Tension Adjustment
Proper tension is crucial for creating balanced and professional-looking stitches with your Kenmore Model 158. The manual emphasizes that tension adjustments impact how the top and bobbin threads interlock, directly affecting stitch quality.
Incorrect tension can manifest as looping on either side of the fabric, puckering, or thread breakage. Upper tension controls the thread coming from the spool, while lower tension governs the bobbin thread.
To adjust, begin by threading the machine correctly and using the same type of thread in both the spool and bobbin. Test sew on a scrap fabric. If loops appear on the underside, tighten the upper tension. Conversely, if loops appear on the top, loosen the upper tension.
Small adjustments are key; make incremental changes and retest after each adjustment. The manual suggests consulting diagrams for specific tension settings based on fabric type and stitch selection. Consistent practice and careful observation are vital for mastering tension control on your Kenmore 158.
Using Different Presser Feet
The Kenmore Model 158’s versatility expands significantly with the use of various presser feet. While the standard foot is suitable for general sewing, specialized feet unlock a wider range of techniques.
A zipper foot, often included with the machine, allows for close stitching along zipper teeth. Buttonhole feet simplify creating consistent buttonholes, and blind hem feet enable nearly invisible hems.
The manual doesn’t detail every available foot, but highlights the importance of selecting the correct foot for the task. Changing feet is straightforward: release the thumb screw on the presser foot shank, remove the existing foot, and attach the new one, ensuring it clicks securely into place.
Experimenting with different feet opens up creative possibilities, from decorative stitching to quilting. Proper foot selection ensures optimal fabric feeding and stitch formation, enhancing your sewing projects with the Kenmore 158.
Troubleshooting Common Stitching Problems
Encountering stitching issues with your Kenmore Model 158 is common, but often easily resolved. Thread bunching underneath the fabric usually indicates incorrect threading or improper bobbin insertion – re-thread both, ensuring correct paths.
Skipped stitches can stem from a dull or incorrect needle size for the fabric. Needle breakage often signals forcing the fabric or using the wrong needle type. Always use a fresh needle for each project.
Uneven stitches frequently point to tension imbalances. Adjust the tension dial incrementally, testing on scrap fabric after each adjustment. Lint buildup in the bobbin area can also cause problems; regular cleaning is crucial.
Referencing the manual and online resources like Reddit forums can provide specific solutions. Systematic troubleshooting – checking threading, tension, and the needle – will restore smooth, consistent stitching on your Kenmore 158.
Freehand Sewing and Dropping the Feed Dogs
The Kenmore Model 158 offers a valuable feature for creative sewing: the ability to drop the feed dogs. This disengages the fabric-feeding mechanism, allowing you to move the fabric freely under the needle, ideal for freehand embroidery, darning, or quilting.
Locate the control typically found on the front of the machine bedplate. Turning this control to the left lowers the feed dogs, enabling unrestricted fabric movement. Remember to set the stitch length to zero before engaging freehand mode.
For darning or mending, secure the fabric with a hoop or by hand. For quilting, gently guide the fabric under the needle, creating desired designs. Always raise the feed dogs before returning to standard sewing to prevent damage.
Consult your manual for specific instructions and safety precautions. Mastering this technique expands the creative possibilities of your Kenmore 158.
Maintenance and Care
Regular upkeep ensures longevity. Cleaning, oiling, and needle replacement are crucial. Belt replacement may also be needed, maintaining optimal performance of your Kenmore 158.
Cleaning the Kenmore Model 158
Consistent cleaning is paramount for a smoothly functioning Kenmore Model 158. Begin by disconnecting the power source to ensure safety. Use a soft brush to remove lint and dust from the bobbin area, feed dogs, and surrounding components. A lint brush is particularly effective for reaching tight spaces.
For more stubborn debris, a slightly dampened cloth can be used, but avoid excessive moisture. Never use harsh chemicals or abrasive cleaners, as these can damage the machine’s finish or internal parts. Pay close attention to the faceplate and areas around the stitch length control, where lint tends to accumulate.
Regularly cleaning the bobbin case and shuttle hook prevents thread buildup and ensures consistent stitch quality. A small amount of sewing machine oil can be applied after cleaning to keep these parts moving freely. Remember to wipe away any excess oil to prevent staining fabric.
Oiling and Lubrication
Proper lubrication is crucial for maintaining the Kenmore Model 158’s performance and longevity. Use a sewing machine oil specifically designed for this purpose – avoid household oils, as they can gum up the mechanism. Disconnect the power before oiling.
Apply a small drop of oil to the bobbin race, shuttle hook, and any other moving parts identified in the manual. Focus on areas where metal rubs against metal. The feed dogs and their associated linkages also benefit from occasional oiling.
After oiling, hand-crank the machine several times to distribute the lubricant evenly. Wipe away any excess oil with a clean cloth to prevent staining fabric. Avoid over-oiling, as this can attract dust and lint. Regular oiling, combined with cleaning, will keep your Kenmore Model 158 running smoothly for years.
Replacing the Needle
Regular needle replacement is vital for consistent stitch quality and preventing damage to your Kenmore Model 158. Always disconnect the power before changing the needle. Identify the correct needle type and size for your fabric – consult your manual for guidance.
Loosen the needle clamp screw using the appropriate screwdriver. Gently pull the old needle downwards and slightly forward to remove it. Insert the new needle with the flat side facing the back of the machine. Ensure it’s pushed fully into the needle clamp.
Tighten the needle clamp screw securely, but avoid over-tightening. A loose needle can cause skipped stitches, while an over-tightened screw can damage the clamp. Always dispose of used needles safely to prevent injury. A fresh needle significantly improves sewing performance.
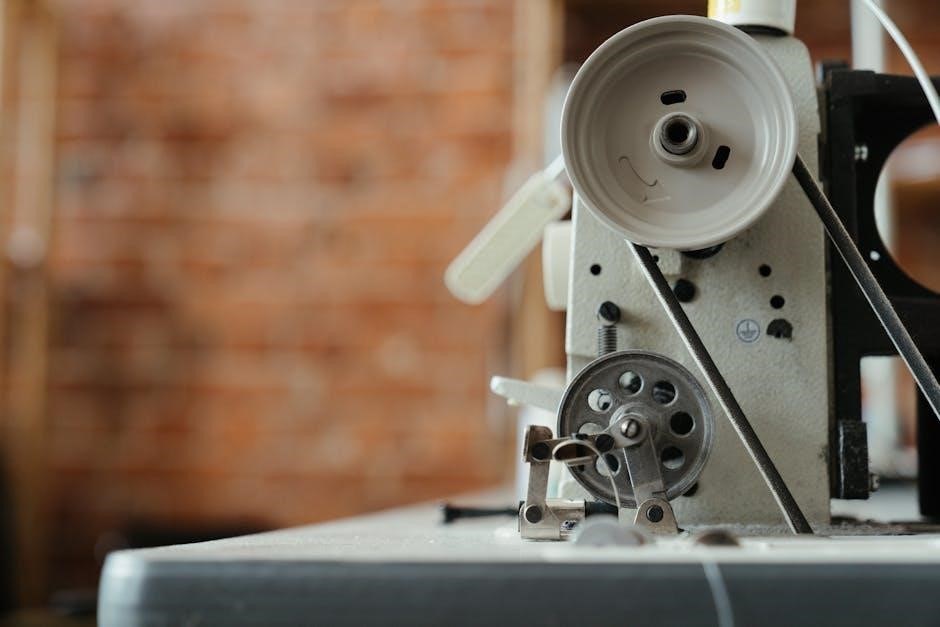
Belt Replacement Procedures
Replacing the belt on your Kenmore Model 158 restores power transmission when it becomes worn or broken, resulting in sluggish operation. Begin by disconnecting the power and accessing the motor area, usually by removing a back panel or cover. Carefully observe the belt’s routing before removal – a photo can be helpful!
Remove the old belt, noting its position around the motor pulley and the handwheel. Install the new belt, ensuring it’s seated correctly on both pulleys. The belt should have slight tension; too loose and it will slip, too tight and it strains the motor.
Test the machine by turning the handwheel. If the belt slips or feels excessively tight, readjust its position. Reattach the access panel and reconnect the power. A properly replaced belt ensures smooth and efficient sewing.
Manual Resources and Downloads
Numerous online archives offer Kenmore 158 manuals, including Reddit and Sewconsult.com, providing PDF downloads for models like 158.17851 and 158.1980x.
Locating the 158.17851 Manual (Reddit Resource)
A valuable resource for owners of the Kenmore Model 158.17851 sewing machine is the r/vintagesewing subreddit on Reddit. Users there have collaboratively sought and shared information regarding these classic machines, including locating original manuals.
Specifically, a user on r/vintagesewing previously uploaded a manual that closely matches the 158.17851 model. While not an exact match, it provides significant assistance for understanding the machine’s operation and maintenance.
The direct link to this uploaded manual is available at https://low.li/story/2021/06/kenmore-sewing-machine-manual-model-158-17851/. This resource, dated June 21, 2021, offers a helpful starting point for those seeking guidance for their Kenmore 158.17851.
It’s important to note that this manual was found with assistance from a sewing forum and uploaded for posterity, benefiting others searching for this specific documentation.
Accessing the 158.1980 Manual (Sewconsult.com)
For Kenmore Model 158.1980 sewing machine owners, a readily available instruction manual can be found on Sewconsult.com. This resource provides a free downloadable PDF file, offering comprehensive directions for using your Sears Kenmore machine.
The manual covers essential aspects of operation, including getting started, understanding the machine’s features, and performing basic maintenance. It’s presented as a PDF, Text File, or presentation slides for convenient access.
Sewconsult.com specifically hosts the instruction manual for the Kenmore 158.1980, making it a direct and reliable source for users needing guidance. The resource was initially accessed on January 4, 2021.
This manual is invaluable for anyone looking to understand how to properly utilize their Kenmore 158.1980 sewing machine, ensuring optimal performance and longevity. It’s a key resource for both beginners and experienced sewers.
Finding Manuals for 158.1980x Models
Owners of Kenmore 158.1980x sewing machines – encompassing models 158.19800, 158.19801, and 158.19802 – can locate a dedicated instruction manual through the Internet Archive, hosted by sewconsult.com.
This resource provides a downloadable manual specifically tailored to these ‘x’ series variations, offering detailed guidance on operation and maintenance. The manual, available in a 23.0MB file size, is a valuable asset for users.
The sewconsult.com offering includes comprehensive instructions for understanding and utilizing the features of these Kenmore machines. It’s a readily accessible digital copy, simplifying access to essential information.
This manual covers everything from basic operation to troubleshooting, ensuring owners can effectively maintain and repair their 158.1980x models. It was initially archived on January 4, 2021, providing a historical record of support.
Kenmore 158.90 Series Manual Availability
Information regarding a dedicated manual specifically for the Kenmore 158.90 series of sewing machines is available. This encompasses several models within the series, including 158.90, 158.900, 158.901, 158.902, and 158.904.
While a direct, easily accessible download link isn’t prominently featured like some other 158 models, the existence of a manual for this series is confirmed. This suggests resources may be found through vintage sewing machine communities or dedicated repair websites.
Owners of these machines are encouraged to explore online forums, such as those on Reddit (r/vintagesewing), and specialized sewing machine resource sites. These platforms often host shared manuals or provide leads to locating them.
Due to the age of these machines, finding a pristine original manual might require patience and diligent searching. However, the availability is confirmed, offering hope for owners seeking guidance.