Singer Sewing Machine User Guide: A Comprehensive Overview (Updated 03/16/2026)
Since 1851, Singer has defined sewing innovation, offering machines for all skill levels – from beginners to professionals.
Explore comprehensive guides, digital manuals, and resources to maximize your sewing experience with Singer’s reliable products.
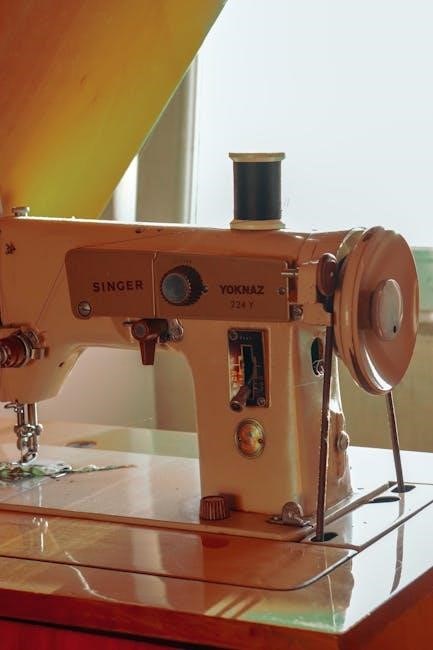
Singer sewing machines represent a legacy of innovation, dating back to Isaac Singer’s pivotal 1851 patent for the first practical sewing machine. This marked the beginning of a brand synonymous with quality and reliability in the world of sewing.
Today, Singer continues to cater to a diverse range of users, offering machines designed for beginners embarking on their sewing journey, as well as seasoned professionals tackling complex projects. From basic garment construction to intricate crafts and home décor, a Singer machine provides the tools needed to bring creative visions to life.
This guide aims to provide a comprehensive overview of Singer sewing machines, covering everything from initial setup and threading to advanced techniques and maintenance, ensuring a seamless and enjoyable sewing experience for all.
A Brief History of Singer
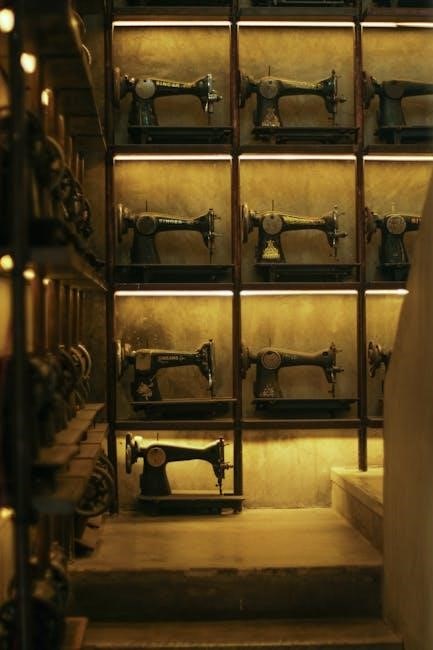
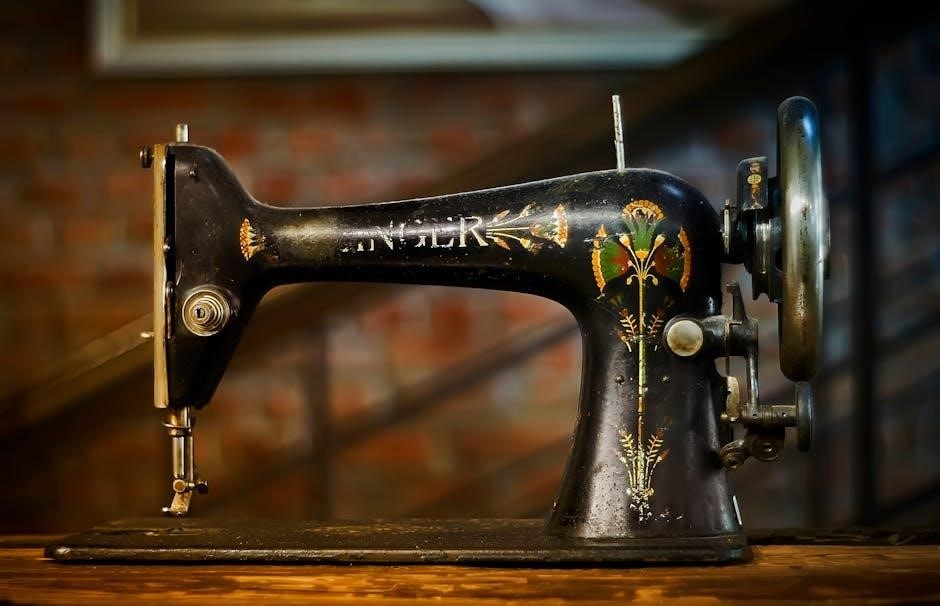
The Singer story began in 1851 with Isaac Singer’s groundbreaking patent for a practical sewing machine. Prior to this, sewing was a laborious handcraft. Singer’s invention revolutionized the industry, enabling faster and more efficient garment production.
Early Singer machines were innovative, featuring a foot treadle and a unique oscillating shuttle system. The company quickly expanded, establishing a global presence and becoming a household name. Singer’s commitment to quality and continuous improvement fueled its success throughout the 20th century.
Throughout its history, Singer has adapted to changing needs, introducing electric motors, diverse stitch options, and heavy-duty models. Today, Singer remains a leading manufacturer, blending tradition with modern technology.
Understanding Different Singer Machine Models
Singer offers a diverse range of sewing machines, catering to various skill levels and project needs. From beginner-friendly models like the Start series to advanced computerized machines, there’s a Singer for everyone. Heavy-duty models, such as the 4423 and 4452, excel at tackling thick fabrics and demanding projects.
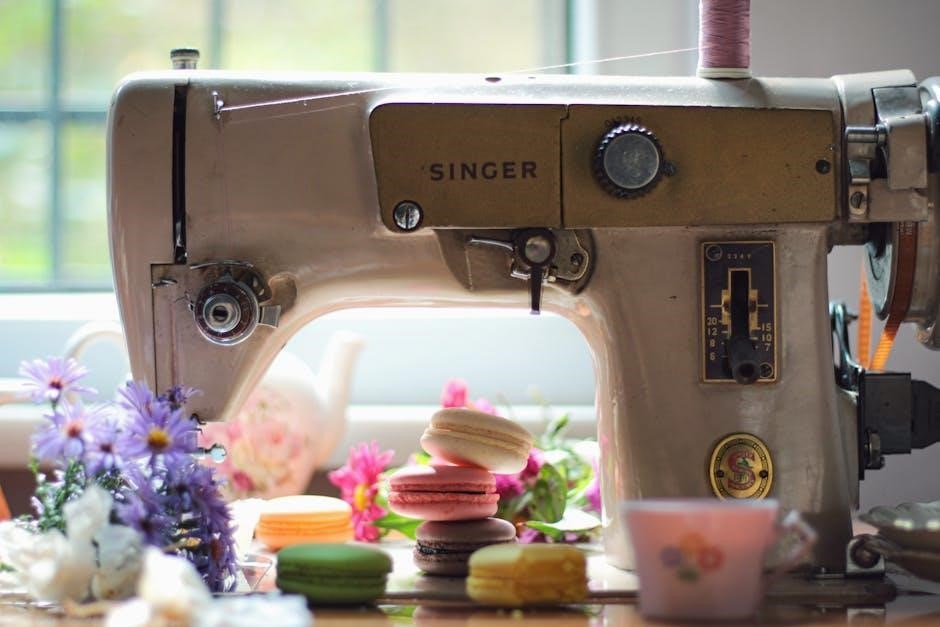
Iconic vintage machines, like the Featherweight 221k, are prized for their durability and portability. Modern computerized machines boast built-in stitches, automatic features, and digital displays. Understanding these distinctions is crucial for selecting the right machine.
Consider your sewing frequency, project types, and desired features when choosing a Singer model. Researching specific models and reading reviews will help you make an informed decision.

Getting Started with Your Singer Machine
Begin by carefully unboxing your new Singer, identifying all parts, and familiarizing yourself with the machine’s basic operation and power switch.
Unboxing and Initial Setup
Carefully remove your Singer sewing machine from its packaging, ensuring all components are present. Retain the box and packing materials for potential future transport or storage. Inspect the machine for any visible damage incurred during shipping; contact the retailer immediately if issues are found.
Remove all protective coverings and foam inserts. Locate the power cord, foot pedal, and included accessories – often nestled within designated compartments. Consult the included quick-start guide for a visual overview of the machine’s parts. Before plugging in, ensure the power switch is in the ‘off’ position. Properly position the machine on a stable, well-lit surface, allowing ample space for fabric handling and operation.
Attach the power cord and foot pedal securely. Familiarize yourself with the location of the bobbin winder and thread spools.
Identifying Key Machine Parts
Familiarize yourself with the Singer machine’s core components. The power switch controls operation, while the foot pedal regulates sewing speed. Locate the bobbin winder, crucial for preparing the bobbin thread. The thread spool pin holds the upper thread spool.
Identify the tension dial, which adjusts thread tension for optimal stitch formation. The stitch length dial controls the length of each stitch, and the stitch width dial adjusts the width for zigzag and decorative stitches. The presser foot secures fabric during sewing, and the presser foot lever raises and lowers it.
Understand the handwheel for manual control and the reverse lever for backstitching. The bobbin case houses the bobbin, and the needle clamp screw secures the needle.
Powering On and Basic Operation
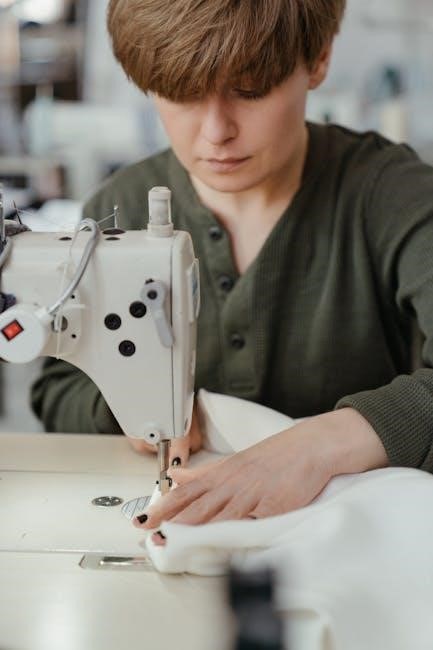
Begin by connecting the power cord to a grounded outlet and switching the machine on using the power switch. Gently press the foot pedal to initiate sewing; the harder you press, the faster the machine operates. Ensure the presser foot is down before starting, as this engages the sewing mechanism.
Always use the handwheel to manually raise and lower the needle, especially when starting or stopping a seam. Practice sewing on scrap fabric to get comfortable with the speed and control. Remember to guide the fabric gently; do not force it.
Observe the stitch formation and adjust the speed as needed. Familiarize yourself with the reverse lever for securing seams.
Threading Your Singer Sewing Machine
Proper threading is crucial for optimal sewing performance. Follow the numbered diagrams in your machine’s manual for both upper thread and bobbin winding procedures.
Threading the Upper Thread
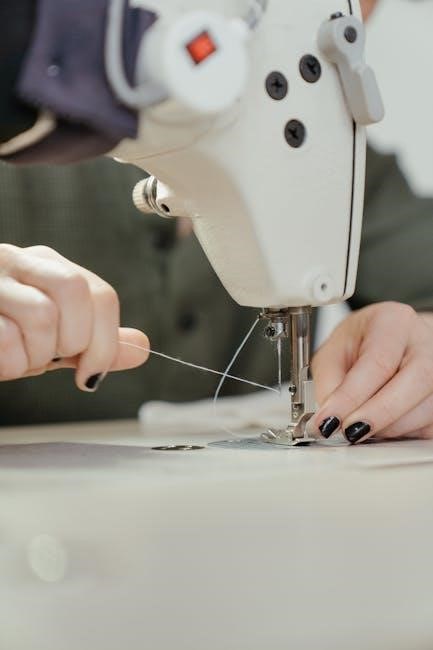
Successfully threading the upper thread is fundamental to operating your Singer sewing machine. Begin by ensuring the machine is turned off and the presser foot is raised. Place the spool of thread onto the spool pin, securing it with a spool cap.
Next, guide the thread through the first thread guide, then down and around the tension disc – this is vital for proper stitch formation. Continue following the numbered threading path illustrated in your machine’s manual, leading the thread through additional guides and finally, the take-up lever.
Ensure the thread is securely inserted into the take-up lever’s slot. Finally, thread the needle from front to back. Incorrect threading can cause skipped stitches or tension issues, so always double-check against the manual’s diagram.
Threading the Bobbin
Proper bobbin threading is crucial for a balanced stitch. First, locate the bobbin winder on your Singer machine. Place the spool of thread on the spool pin, and guide the thread through the designated bobbin winding path, often including a tension disc.
Next, attach the empty bobbin to the bobbin winder spindle and push it to the right to engage the winding mechanism. Depress the foot pedal gently to begin winding the bobbin evenly. Once full, the winder will automatically stop.
Remove the bobbin and carefully insert it into the bobbin case, ensuring it rotates freely and the thread unwinds in the correct direction, as indicated in your machine’s manual.
Winding the Bobbin
Winding the bobbin correctly ensures smooth and consistent stitching. Begin by placing your thread spool on the spool pin. Guide the thread through the thread guides leading to the bobbin winder. Ensure the thread passes through the tension disc – this controls winding pressure.
Place the empty bobbin onto the bobbin winder spindle, pushing it firmly to the right to engage. Gently depress the foot pedal; the bobbin will begin to wind. Monitor the winding, ensuring even distribution.
Once full, the bobbin winder will automatically stop. Remove the bobbin and trim the thread end neatly, preparing it for threading the bobbin case.
Basic Sewing Techniques
Master fundamental stitches like straight and zigzag, adjusting length and width for varied projects. Singer machines offer 32 built-in stitches for diverse applications.
Straight Stitching
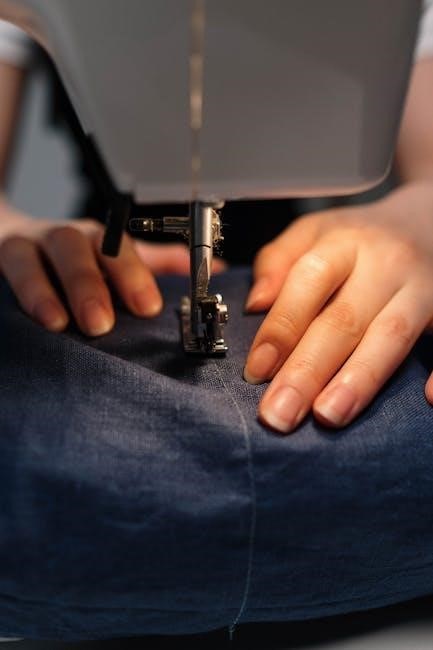
The straight stitch is the most fundamental stitch in sewing, utilized for constructing seams and general fabric joining. Singer machines excel at producing consistent, even straight stitches, crucial for durable garment construction and quilting projects. Begin by selecting the straight stitch option on your machine, typically indicated by a straight line symbol.
Adjust the stitch length according to your fabric weight and project needs; shorter stitches are ideal for delicate fabrics, while longer stitches suit heavier materials. Practice sewing straight lines on scrap fabric before tackling your actual project. Maintaining a consistent seam allowance is key for professional-looking results. Singer’s precision engineering ensures accurate stitch placement, simplifying this essential technique for sewers of all levels.
Zigzag Stitching
The zigzag stitch offers versatility beyond simple seam construction, functioning as a finishing stitch to prevent fabric fraying and providing stretch for knit fabrics. Singer machines provide adjustable zigzag width and length, allowing customization for diverse applications. Select the zigzag stitch setting on your machine, often represented by a zigzag symbol.
Experiment with varying stitch widths and lengths to achieve different effects. A narrow zigzag is ideal for reinforcing edges, while a wider zigzag creates decorative embellishments. Singer’s consistent tension ensures a balanced zigzag stitch, preventing puckering or unevenness. Mastering the zigzag stitch expands your sewing capabilities, enabling creative and functional projects.
Adjusting Stitch Length and Width
Precise stitch control is crucial for quality sewing, and Singer machines offer easy adjustment of both stitch length and width. Locate the corresponding dials or buttons on your machine – typically marked with numbers or length/width indicators. Shorter stitch lengths are ideal for delicate fabrics and curves, providing increased stability, while longer lengths are suited for basting or gathering.
Adjusting stitch width alters the zigzag pattern’s breadth. Wider widths create bolder decorative effects, while narrower widths offer subtle reinforcement. Always test stitch settings on a scrap fabric before beginning your project to ensure optimal results. Consistent adjustments lead to professional-looking seams and embellishments.
Advanced Stitching Features
Singer machines boast diverse stitch options, including built-in patterns, automatic buttonholes, and decorative designs. Unlock creativity with these features for personalized projects!
Built-in Stitch Selection
Singer sewing machines offer a wide array of built-in stitches, catering to diverse sewing needs and creative projects. From essential straight and zigzag stitches for basic repairs and garment construction, to more specialized options like decorative stitches and buttonhole functions, Singer provides versatility.
Models like the Heavy Duty 4452 feature 32 built-in stitches, allowing users to explore various techniques without needing additional accessories. These stitches are often categorized for easy selection, including stretch stitches for knit fabrics, and reinforced stitches for durable seams. Understanding the stitch guide within your machine’s manual is crucial for optimal results, ensuring the correct stitch is chosen for the fabric and intended purpose.
Experimenting with different stitch patterns can elevate your sewing projects, adding unique details and professional finishes.
Buttonhole Sewing
Singer sewing machines simplify buttonhole creation with automated features, eliminating the need for manual precision. Many models, including beginner-friendly options, boast one-step buttonhole functionality. This process typically involves attaching a buttonhole foot and selecting the appropriate buttonhole stitch on the machine.
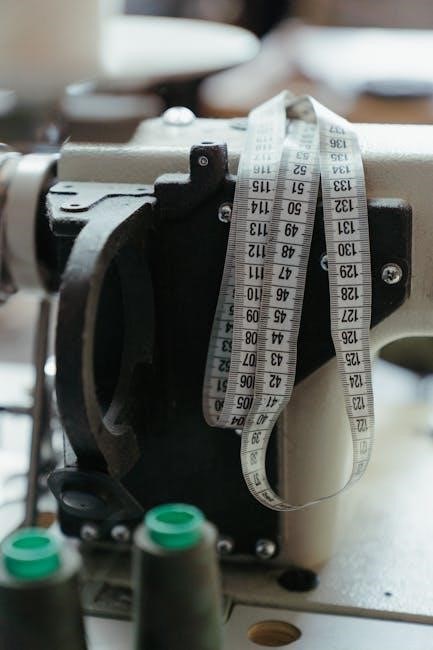
The machine then automatically sews a perfectly sized buttonhole, guided by a measurement scale on the needle plate. Always test the buttonhole size with a scrap fabric before applying it to your final project. Singer machines offer various buttonhole styles, including round and keyhole options.
Refer to your machine’s manual for specific instructions and troubleshooting tips to achieve professional-looking buttonholes consistently.
Decorative Stitching
Singer sewing machines unlock a world of creative possibilities through their diverse range of decorative stitches. Many models feature 32 or more built-in stitches, extending beyond basic sewing to include ornamental designs. These stitches can embellish garments, create unique quilting patterns, and personalize home décor projects.
Experiment with different stitch widths and lengths to achieve varied effects. Utilize decorative presser feet, such as the open-toe foot, for optimal stitch visibility. Singer offers stitch guides and resources to inspire your creativity and help you select the perfect stitch for your project.
Don’t hesitate to practice on scrap fabric before applying decorative stitches to your final creation!
Maintaining Your Singer Machine
Regular cleaning and oiling are crucial for optimal performance. Address common issues promptly to ensure longevity and smooth operation of your Singer sewing machine.
Cleaning Your Sewing Machine
Maintaining a clean sewing machine is paramount for consistent performance and preventing mechanical issues. Always disconnect the power supply before commencing any cleaning procedures. Begin by removing the needle, presser foot, and bobbin case. Use a soft brush – often included with your machine – to remove lint and dust from the bobbin area, feed dogs, and surrounding components.
For more stubborn debris, a lint roller or a can of compressed air can be incredibly effective. Wipe down the exterior surfaces with a slightly damp cloth, avoiding harsh chemicals or abrasive cleaners. Pay particular attention to areas where oil may accumulate. Regular cleaning prevents fabric fibers and oil buildup from hindering the machine’s operation, ensuring a smoother and more enjoyable sewing experience.
Oiling Your Sewing Machine
Proper lubrication is crucial for the longevity and smooth operation of your Singer sewing machine. Refer to your machine’s manual for specific oiling points, as locations vary by model. Generally, oiling is required in areas with moving parts, such as the bobbin hook, shuttle race, and presser bar. Use only sewing machine oil – never household oil – as it’s formulated to prevent gumming and corrosion.
Apply oil sparingly, using a needle-nose oiler to target precise areas. Wipe away any excess oil to avoid attracting dust and lint. Regular oiling reduces friction, minimizes wear and tear, and ensures consistent stitch quality. Avoid over-oiling, as this can lead to build-up and attract debris, ultimately hindering performance.
Troubleshooting Common Issues
Encountering problems with your Singer machine is common, but many are easily resolved. Thread bunching often indicates incorrect threading or improper tension. Needle breakage can stem from using the wrong needle type for the fabric or a dull needle. Skipped stitches may signal a bent needle, incorrect threading, or timing issues.
Refer to your machine’s manual for detailed troubleshooting steps. Ensure the machine is clean and oiled, as debris and friction can cause malfunctions. If issues persist, consult Singer’s online support resources or a qualified sewing machine technician. Regular maintenance prevents many problems, extending your machine’s lifespan.
Singer Heavy Duty Models (e;g., 4423, 4452)
Singer’s Heavy Duty series (4423, 4452) delivers power and durability. These machines feature metal frames, higher speeds, and 32 built-in stitches for versatile projects.
Specific Features of Heavy Duty Machines
Singer Heavy Duty machines, like the 4423 and 4452, are engineered for tackling demanding projects. A standout feature is their robust metal frame, providing exceptional stability and minimizing vibrations even at high sewing speeds. These models boast a faster sewing speed compared to standard machines, significantly reducing project completion times.
The 32 built-in stitches offer versatility for various applications, from basic garment construction to decorative embellishments. An extra-high presser foot lift accommodates thicker fabrics, while the heavy-duty motor effortlessly powers through multiple layers of denim or upholstery. These machines also include a needle plate with markings for precise measurements, enhancing accuracy during sewing.
Furthermore, the stainless steel bedplate ensures smooth fabric glide, and the drop-in bobbin system simplifies bobbin changes. These features combine to make Singer Heavy Duty machines ideal for sewers who frequently work with heavy-duty materials or require a reliable, high-performance sewing solution.
Using Heavy Duty Needles and Thread
When utilizing Singer Heavy Duty machines, selecting the correct needle and thread is crucial for optimal performance. For thicker fabrics like denim, canvas, or upholstery, employ heavy-duty needles – typically size 14 (90/14) or 16 (100/16). These needles possess a stronger shaft to prevent bending or breaking during penetration.
Correspondingly, use robust thread types such as heavy-duty polyester or nylon. These threads offer increased tensile strength and abrasion resistance, ensuring secure seams that withstand stress. Avoid using fine threads, as they may easily snap under the strain of heavy fabrics.
Proper needle and thread combination guarantees clean stitch formation and prevents skipped stitches or fabric puckering. Regularly inspect your needle for damage and replace it as needed to maintain sewing quality and prevent machine malfunctions.
Sewing Through Thick Fabrics
Singer Heavy Duty machines excel at handling challenging materials, but successful sewing through thick fabrics requires technique. Reduce presser foot pressure slightly to allow the fabric to feed more easily, preventing it from being compressed and difficult to maneuver.
Increase the stitch length to provide greater penetration and secure the layers effectively. A longer stitch also minimizes puckering. Sew slowly and steadily, allowing the machine to power through the fabric without forcing it.
Avoid pulling or pushing the fabric; let the feed dogs do the work. Consider using a walking foot attachment for even feeding of multiple layers, especially with slippery or bulky materials.
Singer Featherweight Models (e.g., 221k)
Vintage Singer Featherweight 221k machines are prized for their portability and durability. Digital manuals and resources are readily available for restoration and care.
Unique Characteristics of Featherweight Machines
Singer Featherweight machines, particularly the 221k model, possess several distinctive qualities that have cemented their legendary status among sewing enthusiasts. Their remarkably lightweight construction, a key feature reflected in the name, makes them exceptionally portable and convenient for classes, travel, or simply moving around the home.
Despite their compact size, these machines are built with robust, all-metal components, ensuring impressive durability and a long operational lifespan. The unique motor design delivers consistent power, capable of handling a variety of fabrics with ease.
Furthermore, the Featherweight’s simplicity contributes to its appeal; fewer parts mean less maintenance and a more direct connection to the sewing process. This simplicity, combined with their reliability, makes them a favorite for both beginners and experienced sewers alike.
Digital Manuals and Resources
Singer provides a wealth of digital resources to support users, enhancing their sewing experience and ensuring optimal machine performance. Comprehensive instruction manuals, available for download, cover a wide range of models, offering detailed guidance on setup, operation, and maintenance.
Beyond manuals, Singer’s website features helpful tutorials, troubleshooting guides, and frequently asked questions addressing common issues.
For vintage machines like the 221k, digital manuals are readily available online, often in PDF format, preserving valuable knowledge for owners of these classic models. Expert support is also accessible through Singer’s official channels, offering warranty information, machine updates, and stitch guides to keep your machine running smoothly.
Vintage Machine Care and Restoration
Preserving a vintage Singer machine requires a delicate approach, blending careful cleaning with mindful restoration. Regular cleaning, removing lint and dust, is crucial for smooth operation. Avoid harsh chemicals; instead, opt for gentle cleaning solutions specifically designed for sewing machines.
Oiling key components, following the manufacturer’s guidelines, ensures optimal performance. For restoration projects, sourcing original parts is ideal, maintaining the machine’s authenticity. Digital manuals, like those for the 221k Featherweight, provide invaluable insights into the machine’s mechanics.
Professional servicing can address complex issues, ensuring your vintage Singer continues to create for generations.
Accessories and Attachments
Enhance your Singer’s capabilities with a variety of presser feet, needles, and other useful accessories. Find the perfect tools for diverse projects and skill levels!
Presser Feet Options
Singer sewing machines boast a wide array of presser feet, each designed for specific tasks and fabrics. The standard presser foot is ideal for everyday sewing, while a zipper foot simplifies installing zippers with precision.
For decorative stitching, utilize the open-toe foot to showcase intricate designs. A buttonhole foot automates buttonhole creation, ensuring consistent results. Quilters benefit from a walking foot, which evenly feeds multiple fabric layers.
Other specialized feet include a blind hem foot, a satin stitch foot, and a gathering foot. Choosing the correct presser foot significantly improves stitch quality and project outcomes, unlocking your machine’s full potential. Explore Singer’s extensive selection to find the perfect fit for your creative endeavors!
Needle Selection Guide
Choosing the right needle is crucial for optimal sewing performance and preventing fabric damage. Universal needles are versatile for woven fabrics, while ballpoint needles are designed for knit fabrics, preventing skipped stitches. Denim needles, with their stronger shaft, handle heavier materials like denim and canvas effectively.
Leather needles feature a wedge-shaped point for piercing leather without tearing. Sharp needles are ideal for fine woven fabrics like silk and microfiber. Needle size corresponds to fabric weight; smaller numbers for delicate fabrics, larger for heavier ones.
Regularly replace needles to maintain stitch quality and avoid thread breakage. Singer recommends changing needles after approximately 8 hours of sewing time. Consult your machine’s manual for specific needle recommendations based on your projects and fabrics.
Other Useful Accessories
Beyond presser feet and needles, several accessories enhance your Singer sewing experience. Seam rippers are essential for correcting mistakes, while fabric markers aid in precise cutting and marking. Thread snips provide clean thread cuts, preventing fraying. Measuring gauges ensure accurate seam allowances and hems.
Loop turners simplify creating professional-looking loops and straps. Point turners help achieve crisp corners on fabric pieces. Bobbin winding guides streamline bobbin preparation. Lint brushes keep your machine clean and functioning optimally.
Singer offers accessory kits containing a curated selection of useful tools. Investing in quality accessories improves efficiency and the overall quality of your sewing projects.
Safety Precautions
Prioritize safety when operating your Singer. Always follow general guidelines, avoid needle injuries, and ensure electrical safety for a secure sewing experience.
General Safety Guidelines
Before beginning any sewing project, carefully read this entire user guide to understand your Singer machine’s operation and safety features. Always disconnect the power supply when changing needles, threading, or performing any maintenance. Keep fingers away from the needle area while the machine is running – serious injury can occur.
Never pull fabric while sewing; let the machine feed the material. Use the correct needle type and size for your fabric to prevent breakage and potential hazards. Ensure the machine is placed on a stable, level surface during operation. Supervise children closely when they are near a sewing machine, and never allow them to operate it unsupervised. Regularly inspect the power cord for damage and replace if necessary.
Always use genuine Singer accessories and attachments to maintain machine performance and safety.
Avoiding Needle Injuries
Needle injuries are a significant safety concern when operating a sewing machine. Always use a needle appropriate for the fabric type and weight; a dull or incorrect needle increases the risk of breakage. When replacing the needle, ensure the presser foot is raised and the power is off. Insert the needle firmly into the needle clamp, with the flat side facing the back.
Never sew over pins or thick objects, as this can bend or break the needle. Always use a seam ripper to remove stitches, not your fingers, near the needle. If a needle breaks, carefully remove the pieces, and discard them safely. Consider wearing safety glasses to protect your eyes from flying fragments.
Regularly inspect needles for damage and replace them as needed.
Electrical Safety
Prioritize electrical safety when using your Singer sewing machine. Always ensure the machine is properly grounded and connected to a compatible power outlet. Never operate the machine with a damaged power cord or plug; replace them immediately. Avoid using extension cords if possible, and if necessary, use a heavy-duty cord rated for the machine’s amperage.
Always turn off and unplug the machine before cleaning, changing the needle, or performing any maintenance. Keep the machine away from water and damp environments to prevent electric shock. Never attempt to repair the electrical components yourself; contact a qualified technician for repairs.
Inspect the cord regularly for fraying or damage.